
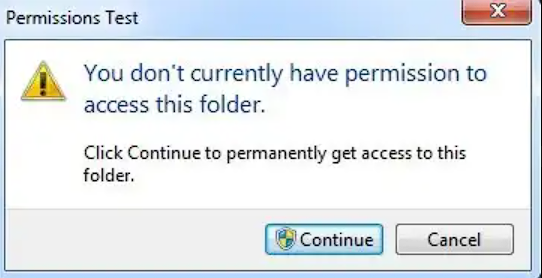
Are you tired of seeing those obnoxious Access Denied notifications in Windows Vista and 7 when you try to edit particular files or folders? Well, worry no more!
In this post, we’ll show you how to add the Take Ownership option to Vista’s and Windows 7’s right-click menu, giving you quick access and complete control over your files and folders.
We’ll also review more helpful techniques accessible to those with little to no prior knowledge of the subject.
Even though you are the administrator, you may have encountered circumstances where you aren’t allowed access to particular files or folders when working with Windows Vista and 7. So let’s start right now!
What is the Take Ownership option?
The Take Ownership option allows you to take control of a file or folder, giving you the authority to change, remove, or rename it.
This option is not present in the context menu by default, but you may add it for your convenience by following a few easy steps.
How can I add the Take Ownership option to the right-click menu?
1. Create a .reg file using Notepad
You can make a .reg file to automate adding the Take Ownership option to the right-click menu. This file can be used on multiple computers or shared.
Here is how to go about it:
- Open a new Notepad file or another text editor.
- Copy-paste the following code inside the text editor:
Windows Registry Editor Version 5.00

[HKEY_CLASSES_ROOT\*\shell\Take Ownership] @="Take Ownership"

[HKEY_CLASSES_ROOT\*\shell\Take Ownership\command] @="cmd.exe /c takeown /f \"%1\" && icacls \"%1\" /grant administrators:F && pause"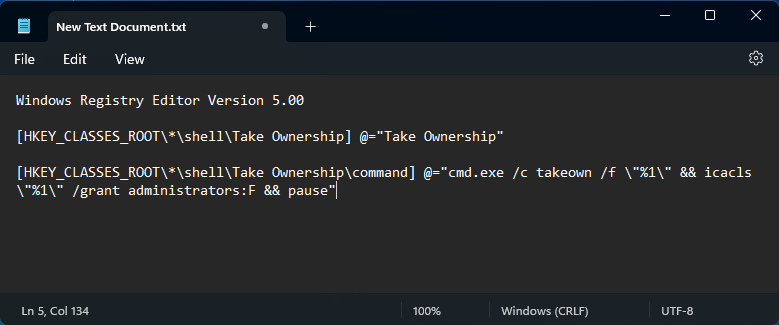
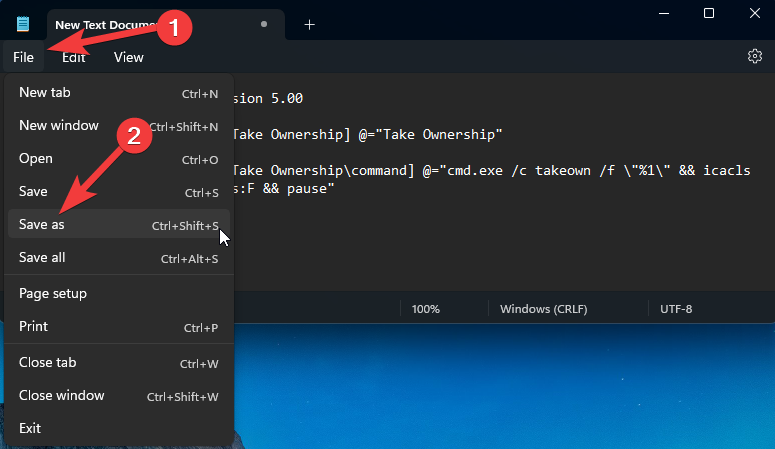
- Click the File menu, choose Save as, then choose a relevant name for the file and add a .reg extension, such as take_ownership.reg.
- Double-click the .reg file to add it to your Windows Registry. Confirm any prompts that appear in the process.
2. Use the Command Prompt
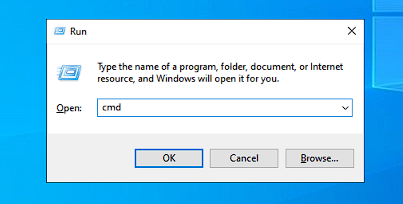
- Press the Win + R keys to open the Run dialog, type cmd, and press Enter to open it.
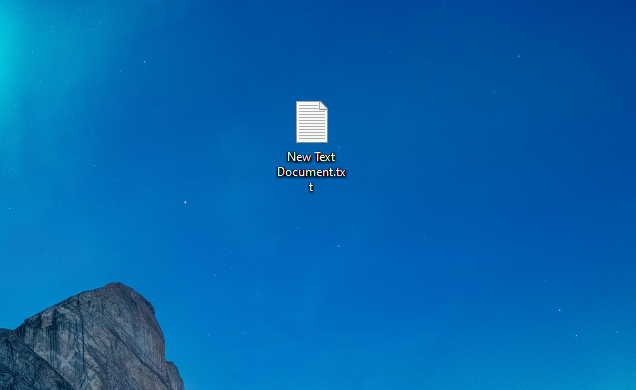
- Locate the file or folder you wish to take control of by navigating there. For instance, enter the following command if your file is on your desktop:
cd Desktop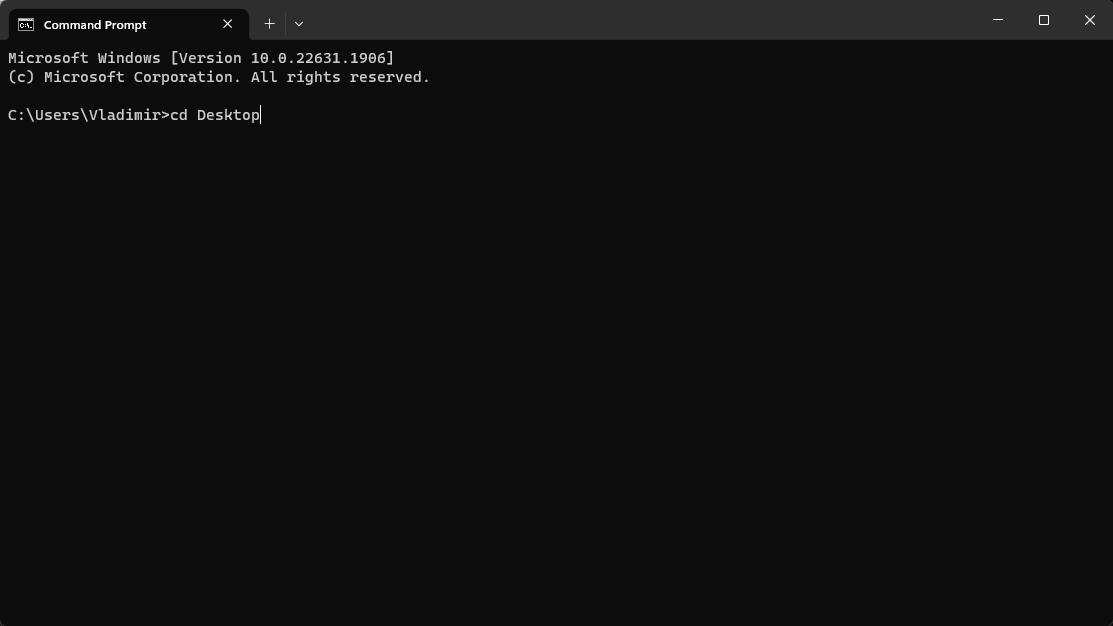
- Enter the following command after arriving at the target location:
takeown /f filename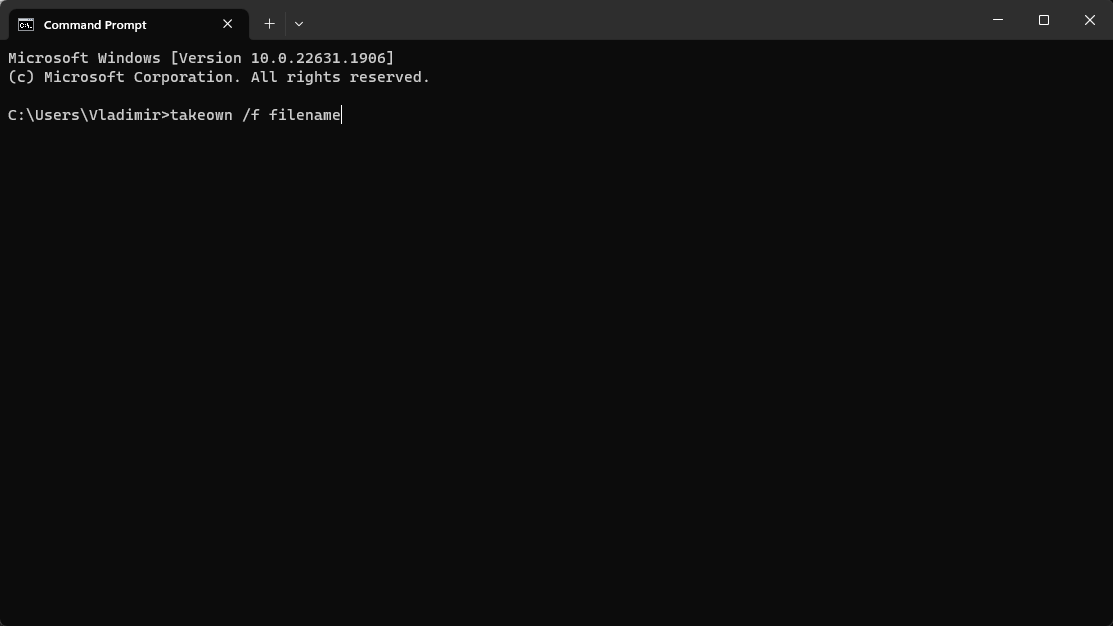
Replace ‘filename‘ with the actual name of the file you want to take ownership of, and press Enter to run it. - Now you will be able to modify the file as you wish.
3. Use the Registry Editor
- Press the Win + R keys, and type regedit in the box.
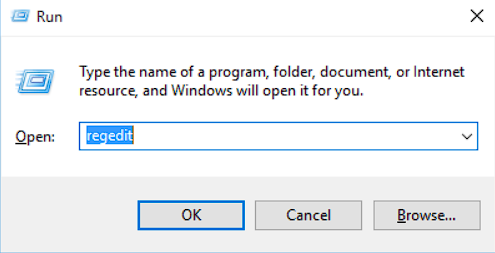
- Press Enter to open the Registry Editor.
- Navigate to the following path using the left-side menu:
HKEY_CLASSES_ROOT*\shell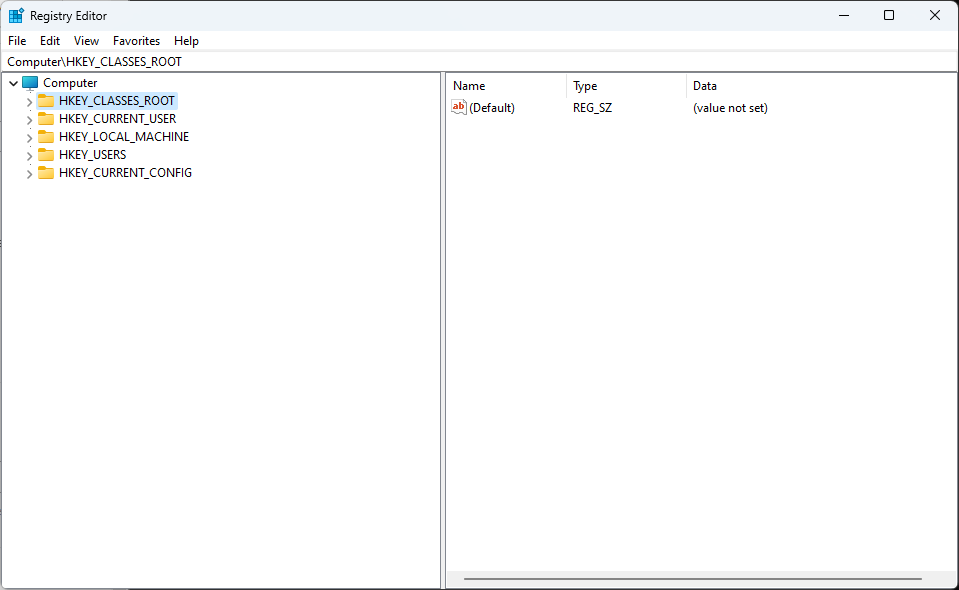
- Right-click on the shell key, and choose New, then select Key. Name the new key as Take Ownership.
- Select the newly-created Take Ownership key, and double-click on the Default value in the right-hand panel.
- Inside the Value Data field, enter the following command and click OK to save the changes:
cmd.exe /c takeown /f "%1" && icacls "%1" /grant administrators:F - Right-click the Take Ownership key again, choose New, then select Key, and name it as command.
- Double-click the Default value in the right-hand side panel, and enter the following command inside the Value Data field:
cmd.exe /c takeown /f "%1" && icacls "%1" /grant administrators:F && pause - Click OK to save the changes.
Note: Check to see if the Take Ownership option has been successfully added to the right-click menu.
4. Try a third-party tool
- Visit the MajorGeeks TakeOwnershipEx tool’s page, and download it.
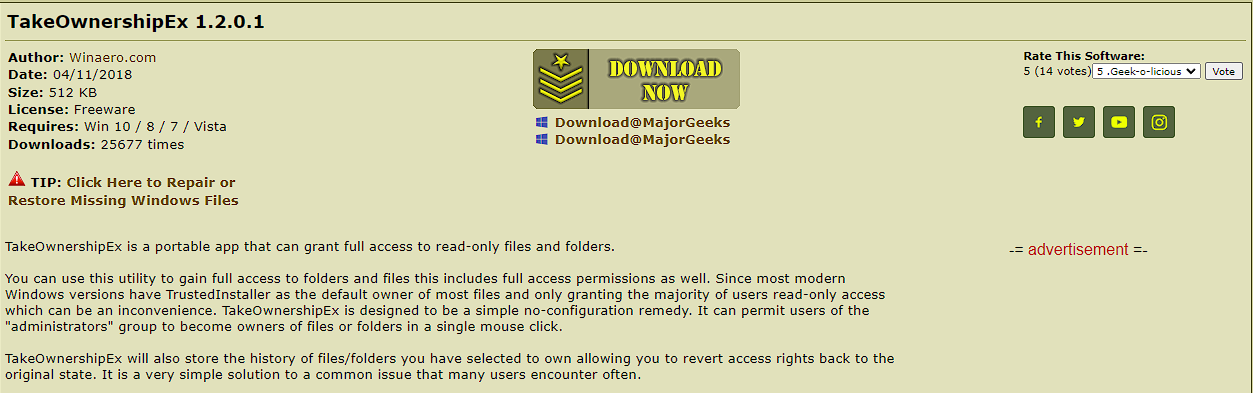
- Install the tool on your PC by following the on-screen instructions.
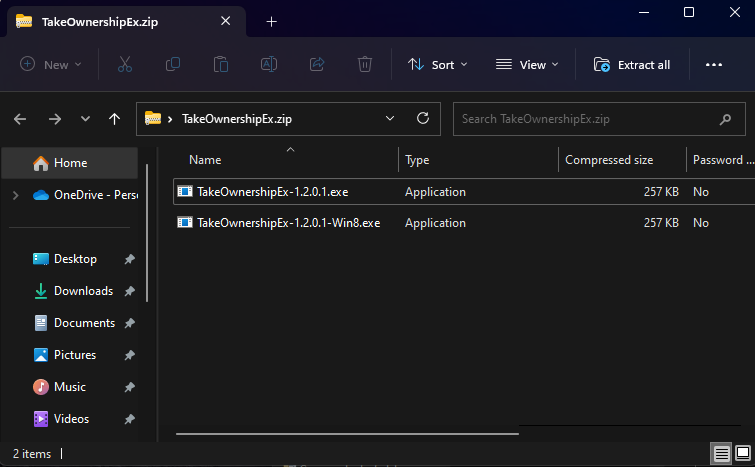
- Navigate to the folder you want to take ownership of.
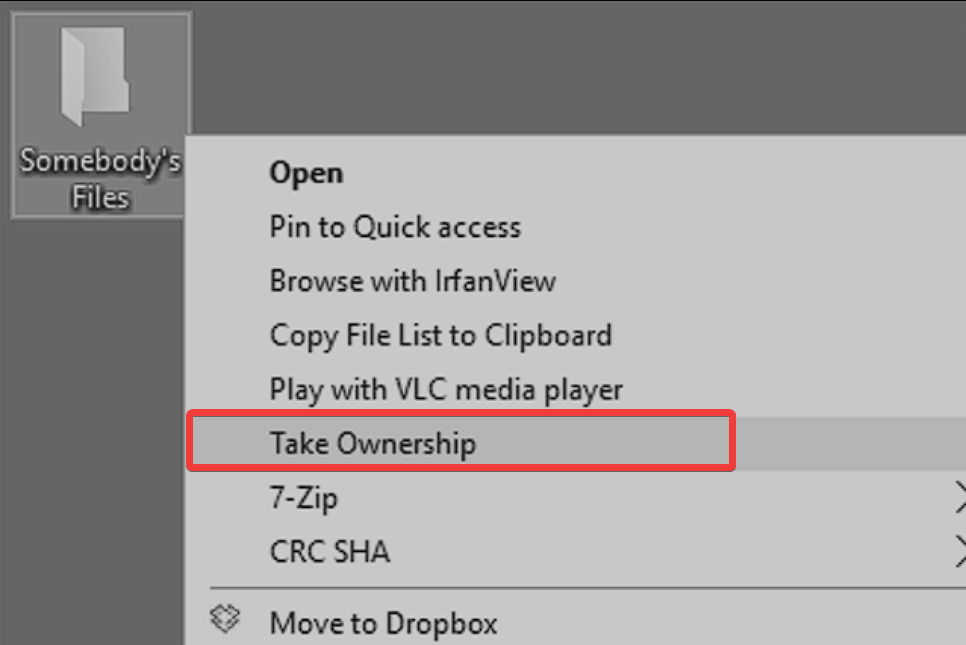
- Right-click it, and select TakeOwnershipEx from the context menu.
- The process will start, and you will have complete control over the specific folder or file in a few minutes.
When using Windows Vista or 7, you may quickly get rid of the Access Denied notifications and take complete control of files and folders by adding the Take Ownership option to the right-click menu.
You can easily add this valuable option to your context menu and change the Windows Registry with just a few easy steps, simplifying file management.

Vladimir Popescu
Verified at:
07/03/2023 10:31
Vladimir started writing articles about Windows because he has a natural interest in this topic, and he has been an avid professional user with more than 15 years of experience. He’s also been writing for WindowsReport.com, MSPoweruser.com and present in various other online publications on matters related to Windows and Windows servers.
Vladimir enjoys practicing Crossfit and making art when he’s not creating top articles with in-depth information.
Leave a Reply