
On Windows 11, network troubles are a common and frustrating issue to deal with. It can be challenging to do work or enjoy online activities when there are problems with the network, slow internet connections, or limited connectivity.
Resetting your network settings is helpful if you have network problems with Windows 11, but it should only be used after trying other methods. In this post, we’ll cover everything there is to know about network resets, including what they are, how to carry them out on Windows 11, and when they might be a good idea.
We’ll also offer some pointers and troubleshooting guidance for fixing network problems on your Windows 11 device.
What does a network reset do?
The network reset feature in Windows 11 allows you to restore the default values for all network-related settings on your machine. This covers network adapters, IP addresses, DNS settings, Wi-Fi, Ethernet, and Bluetooth connection settings, among other things.
Your computer will delete all previously saved Wi-Fi networks, VPN connections, and other network settings when you run a network reset on Windows 11. In addition, all network adapters will be reset and reinstalled, which can assist in resolving connectivity issues, performance issues, and other network-related issues.
It’s crucial to understand that carrying out a network reset will eliminate all adjustments you’ve made to your network settings, including any virtual switches or bridged connections you’ve configured. Therefore, you must reconfigure your network connections and preferences after a network reset.
If your Windows 11 computer has network-related issues, such as sluggish performance, connectivity problems, or trouble connecting to particular networks, performing a network reset might be a helpful troubleshooting step. However, before completing a network reset, it’s usually a good idea to attempt alternative troubleshooting techniques, such as updating your drivers or resetting your router.
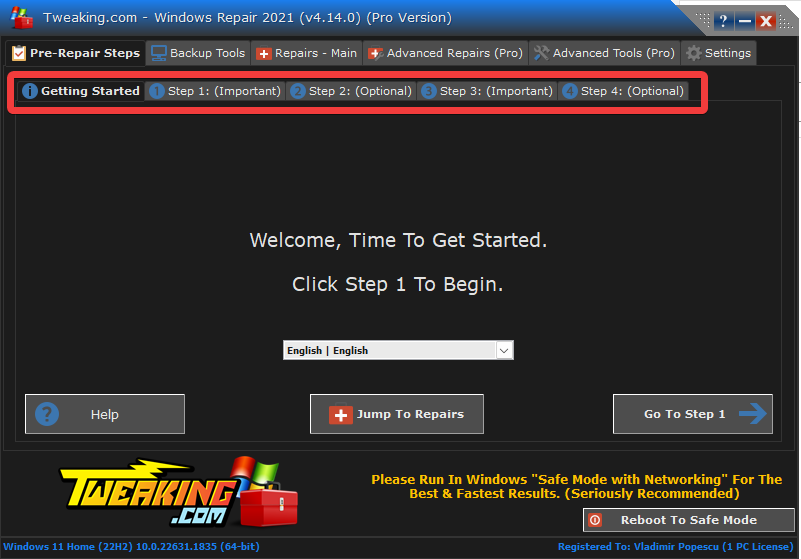
Even more, you can use a specialized tool like Tweaking Repair to ensure that you’ve covered all other options before going along with the network reset process:
To do so, follow the next easy steps:
- Download the Tweaking Repair app.

- Install the software on your PC and run the app file by double-clicking it.
- Follow the step-by-step instructions for the software to automatically check, identify, and resolve any issues with your PC.
How long does a network reset take on Windows 11?
Even though usually a network reset on Windows 11 takes a few minutes, several variables can affect it:
- the speed of your PC
- your network configurations’ size
- the number of network adapters installed on your device
If your computer needs to have several network adapters installed and configured, or if you have a lot of different network configurations, the process could take longer.
Your computer will restart multiple times while the network is reset, and there may be brief occasions when the Internet is unavailable. Therefore, you must rejoin your Wi-Fi or Ethernet network and, if necessary, enter your network security key again when the reset is complete.
Should I do a network reset?
Depending on the network-related issues you’re encountering, you should decide whether or not to execute a network reset on Windows 11. While considering whether to perform a network reset or not, keep the following things in mind:
Do you have any other troubleshooting techniques?
Try alternative troubleshooting techniques first, such as updating your network drivers, resetting your router, or restarting your computer, before completing a network reset.
Do your network-related issues simultaneously affect all networks and devices?
A network reset can be worth attempting if you’re experiencing problems connecting to various networks or devices.
Do you have any custom network configurations or settings?
A network reset will erase any customized network settings you’ve created, including virtual switches and bridged connections, so you’ll have to configure them.
Can you reconfigure your network settings and preferences?
Any previously saved Wi-Fi networks, VPN connections, and other network settings will be erased after performing a network reset. After a network reset, you must reconfigure your network connections and preferences.
The choice to execute a network reset on Windows 11 ultimately depends on your unique situation and the gravity of your network-related issues. For example, a network reset can be something to think about if you’ve tried various troubleshooting techniques but still have network problems that affect multiple networks and devices. Yet, balancing the possible advantages with the hassle of resetting your network and starting over is crucial.
If you decide to go along with this action, explore the methods to do so efficiently below.
How do I reset my network settings on Windows 11?
1. Use the Settings app
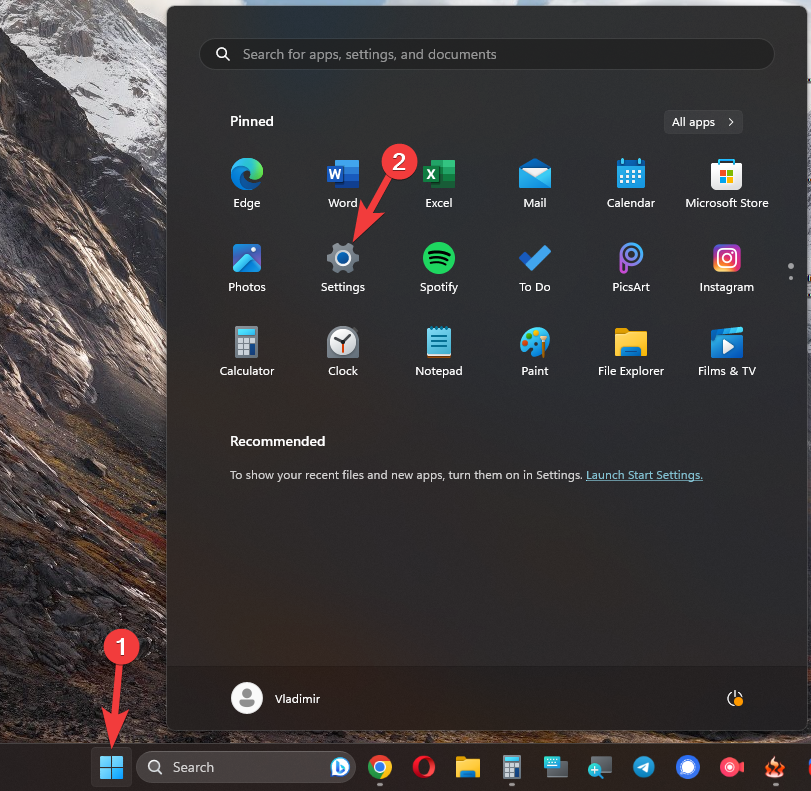
- Open the Settings app by clicking the Start button and gear icon.
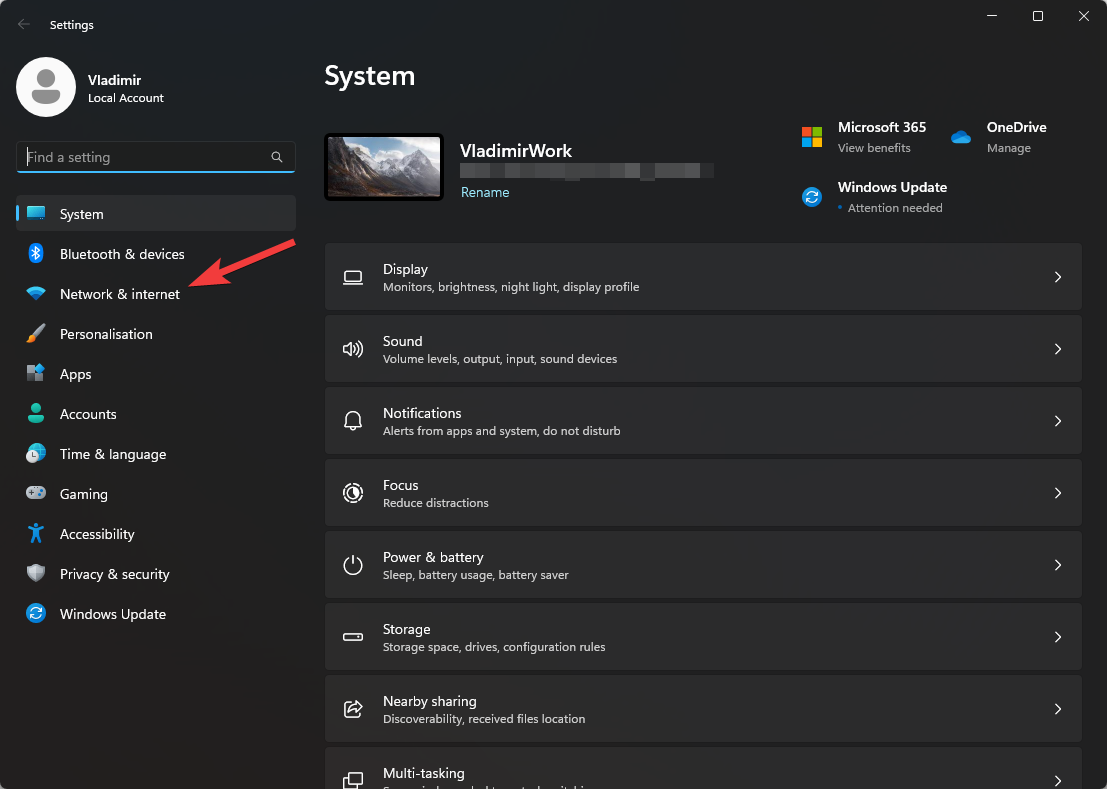
- Click the Network & Internet option.
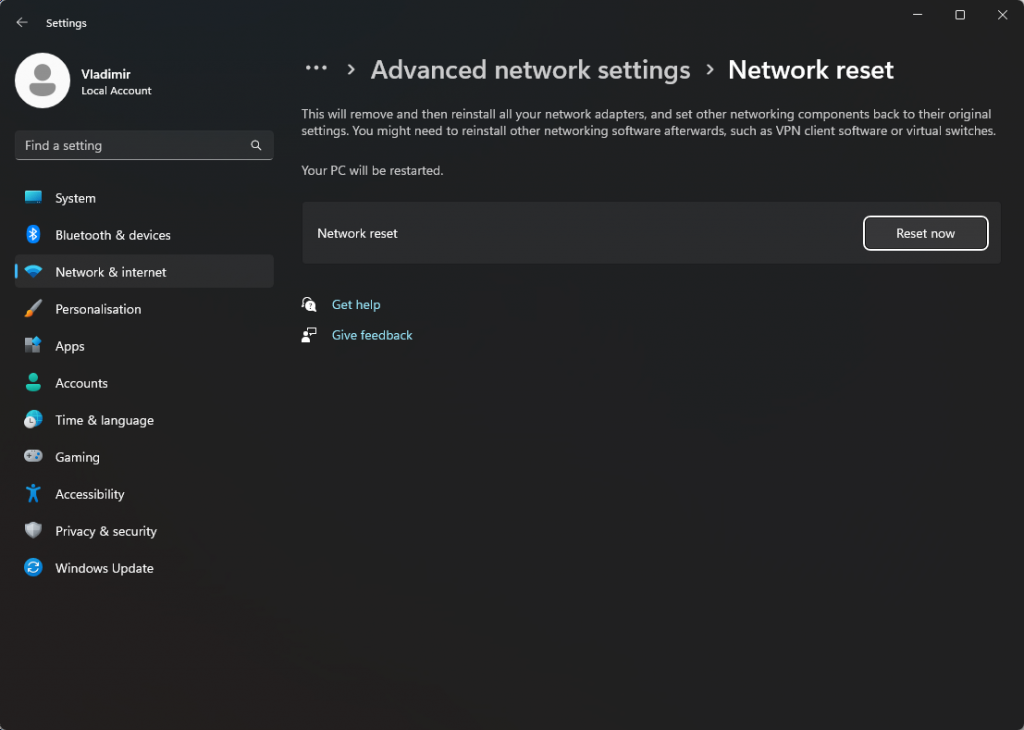
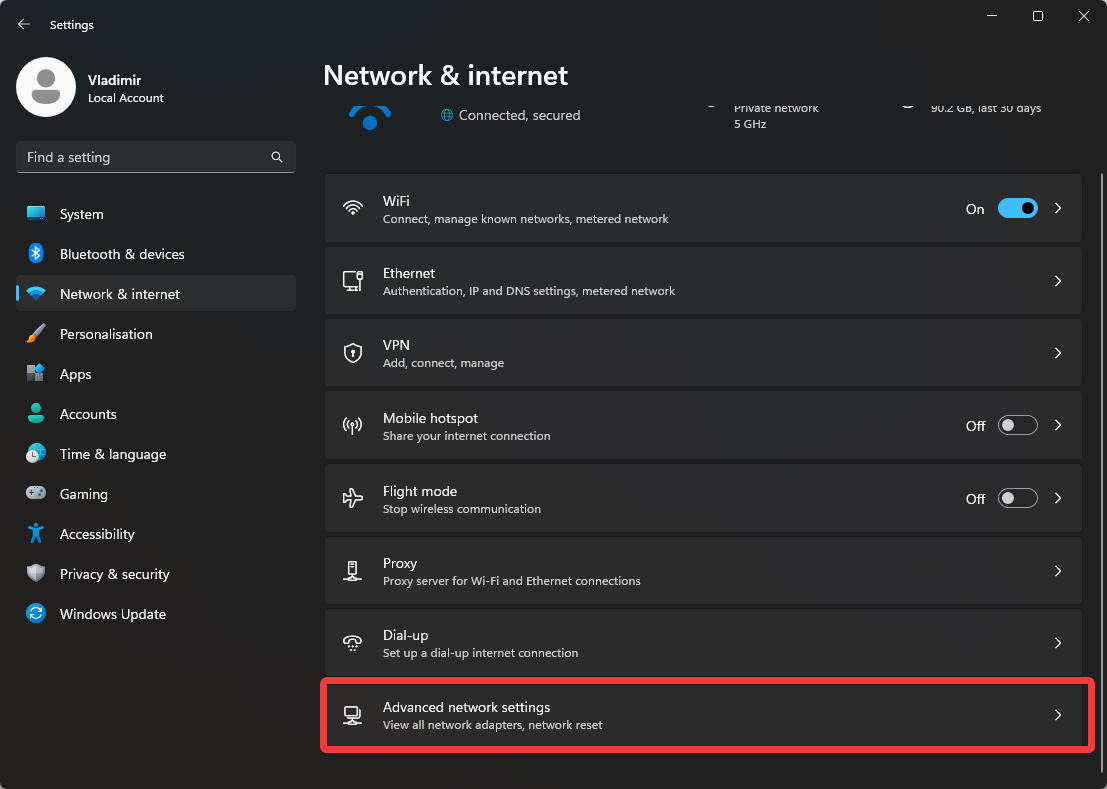
- Click the Advanced network settings option in the newly opened menu.
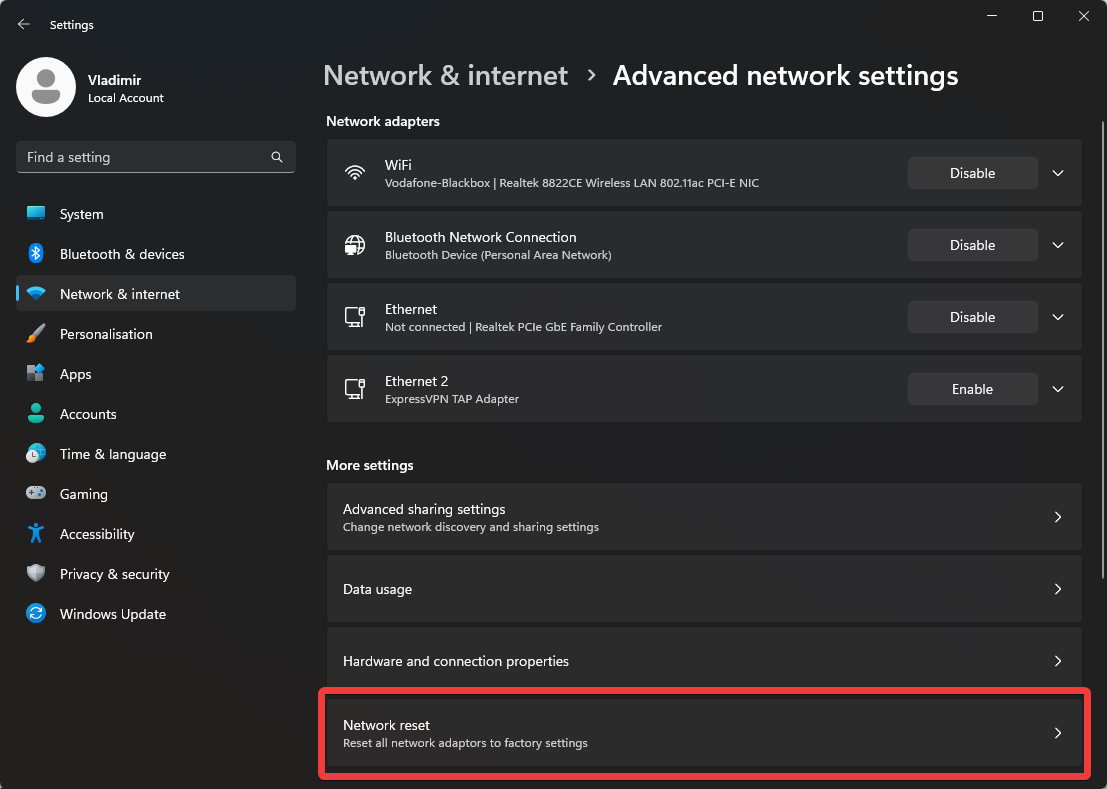
- Click on Network Reset from the bottom of the page.
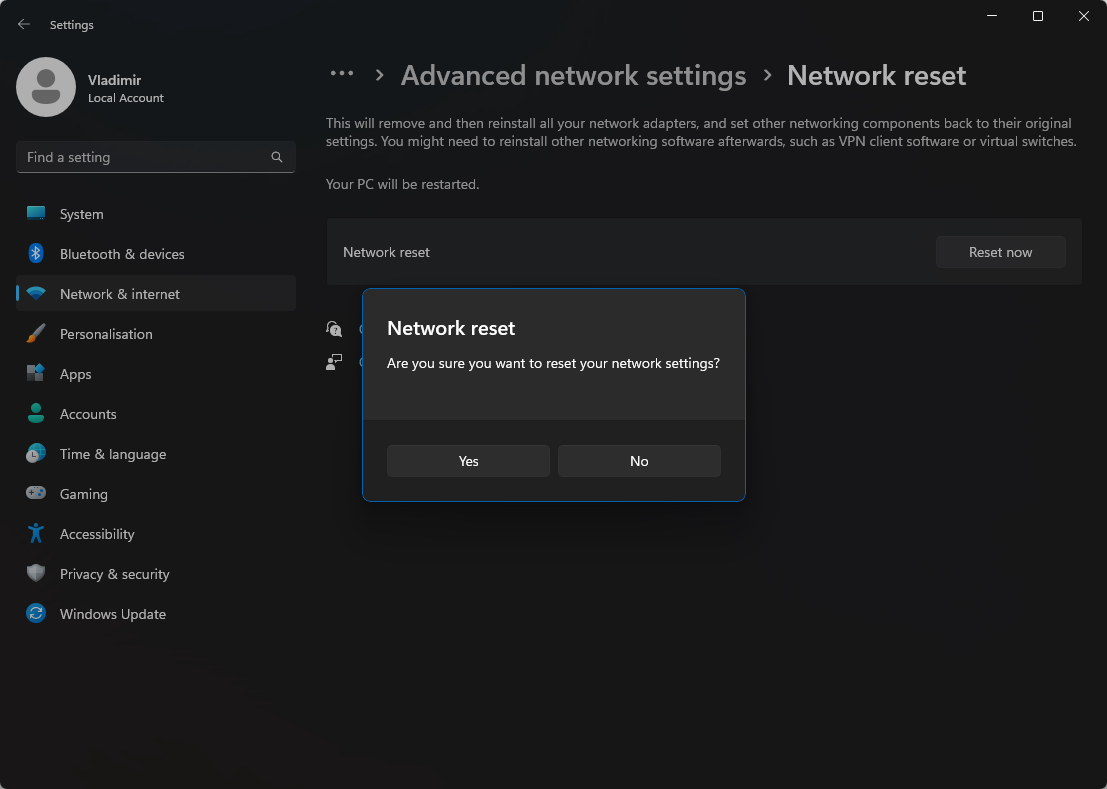
- You will get a prompt informing you that restarting your network will delete all network adapters, configurations, and connections. To continue, click Yes.
- Wait for the process to complete; note that your PC will restart a few times.
- Reconnect your Wi-Fi or Ethernet network.
- Set up specific network configurations like virtual switches or bridged connections.
2. Use the Command Prompt
If the network reset on Windows 11 is not working, you can use the Command Prompt to attempt the same goals.
Here are the steps you need to take for a network reset on Windows 11 using Command Prompt:
- Click the Start button, and search for cmd.
- Choose the Run as administrator option from the right side.
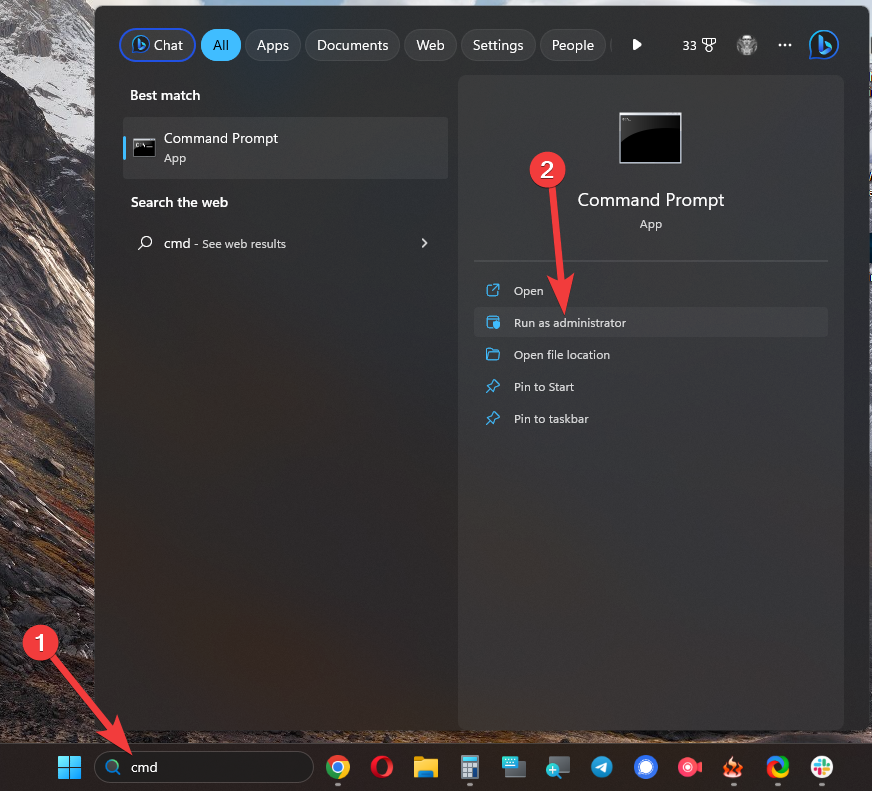
- Type the following commands and press Enter to run each of them:
netsh int ip reset
netsh winsock reset
ipconfig /flushdns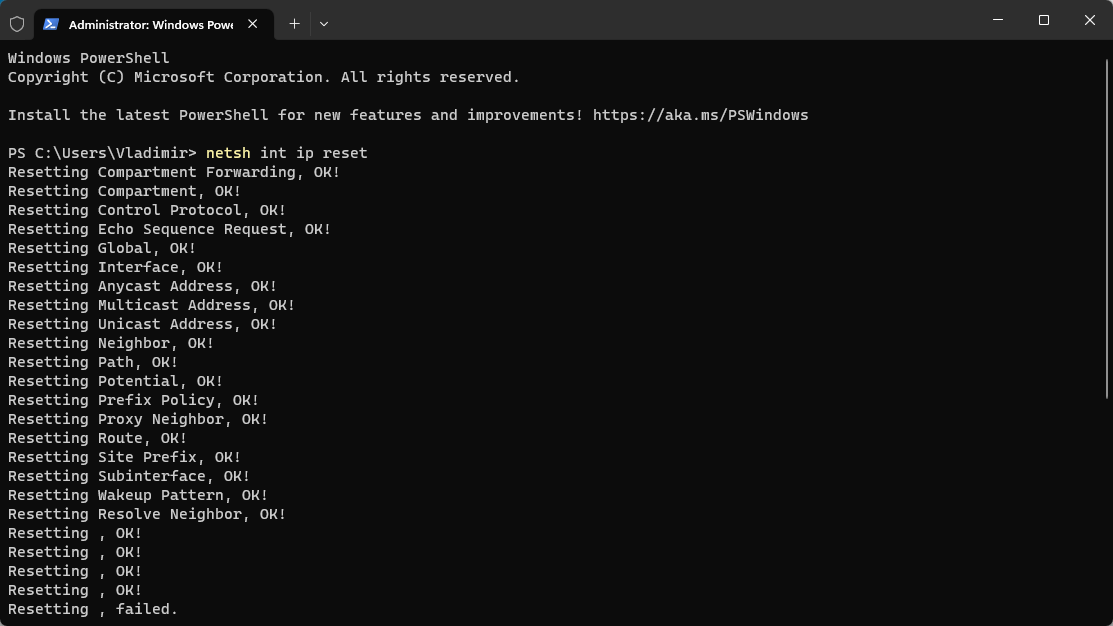
- To finish the network reset operation, restart your computer.
- Reconnect to your network, and check if the issues have been solved.
These commands will perform a winsock reset on Windows 11 while covering the network settings and IP addresses and clearing the DNS Cache. These will also cover any issues requiring a network reset on Windows 11 because of no Wi-Fi.
If this method doesn’t resolve the problem, you can try other methods, which you can see below.
3. Check your network drivers
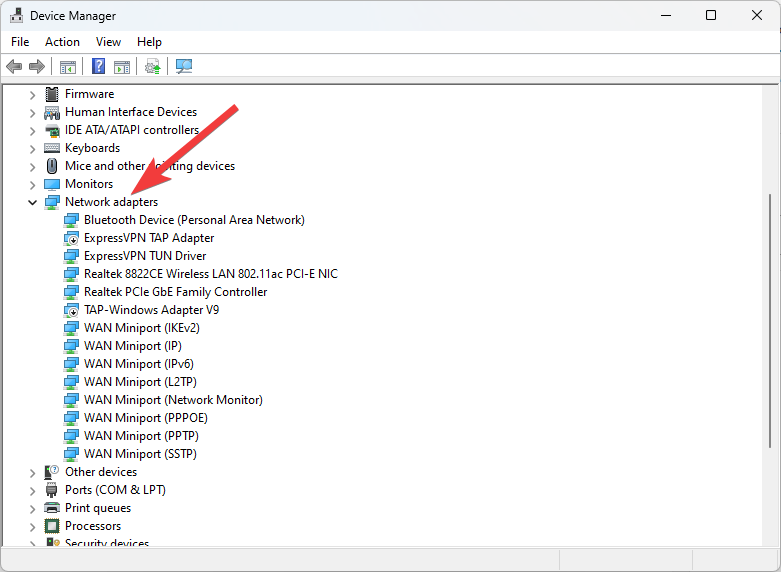
- Right-click the Start button and choose Device Manager from the list.
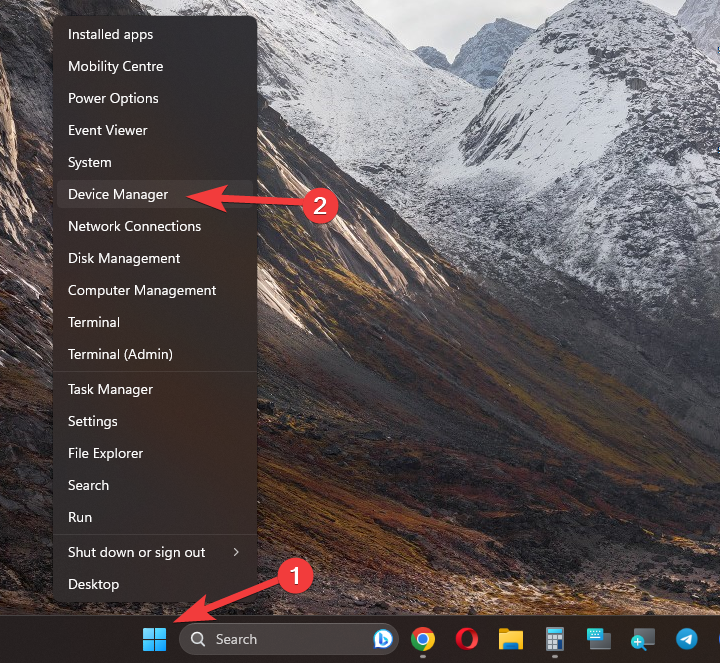
- Expand the Network adapters category by clicking on it.
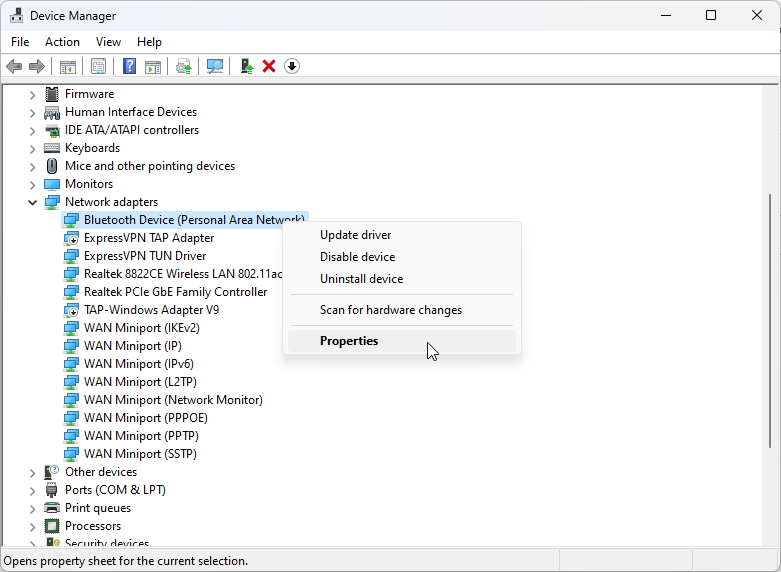
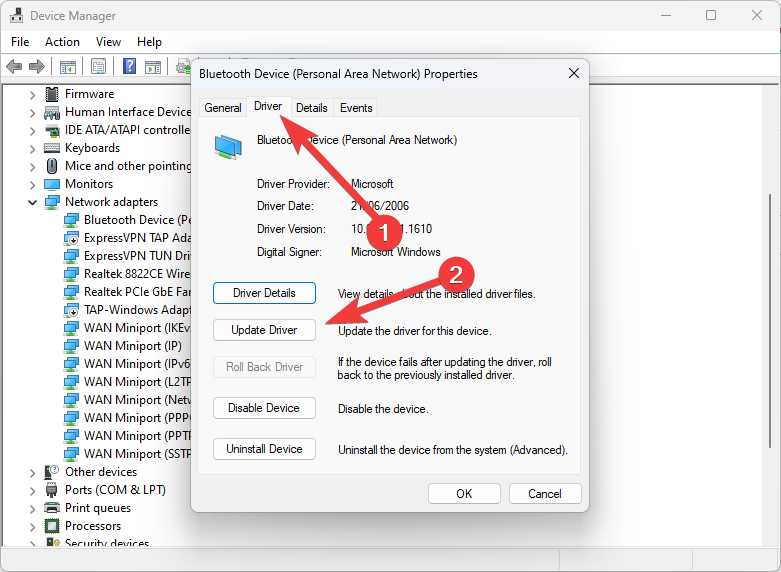
- Right-click each item found there, and click Properties.
- Check the Driver version and update them if needed.
4. Disable any third-party security software

Network connectivity may also be affected by antivirus software from a third party. To check if it fixes the problem, try momentarily disabling any security software you have installed.
5. Check your router and modem
If you’re still having network problems, your modem or router likely is to blame. Make sure the settings on your router/modem are set up correctly. You might also try rebooting your modem or router.
6. Reset your PC
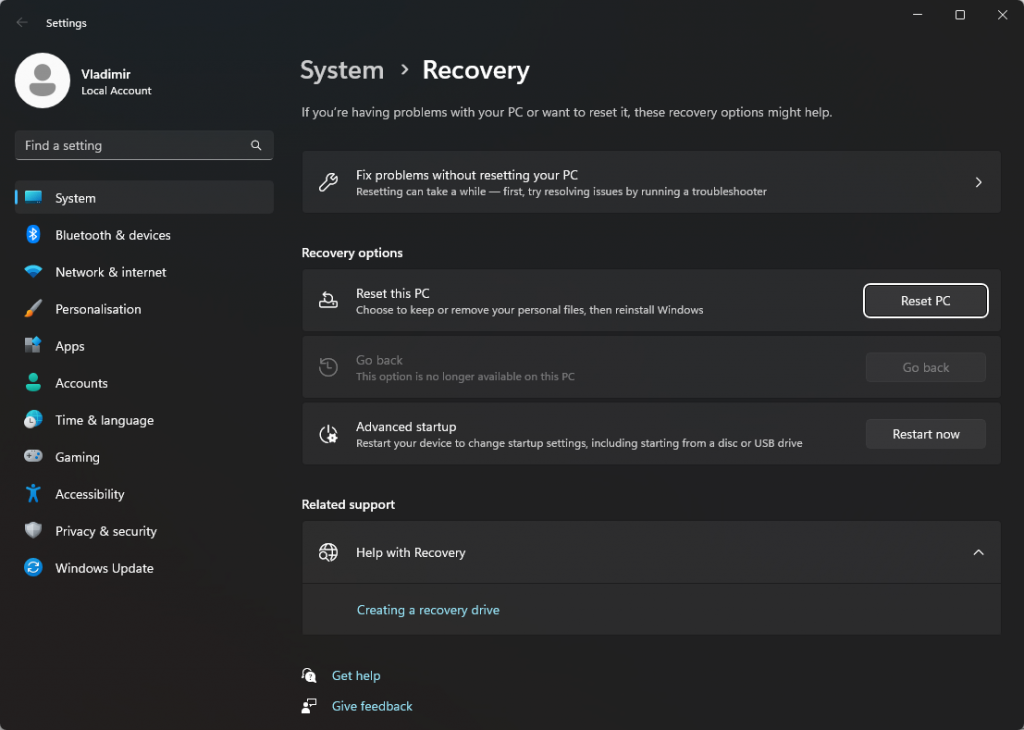
If none of those above fixes work, you might want to think about resetting your PC back to default settings. Make sure to back up any crucial files before starting because doing this will wipe all your personal data and settings.
Resetting your Windows 11 network should only be used as a final solution for fixing any network-related problems and being able to connect to the Internet and networks without issues.
As mentioned previously, the process required to get back to normal after a complete network reset on Windows 11 can be cumbersome, or you might need to gain the technical knowledge to apply it correctly.
Before attempting any reset, using our powerful Tweaking Repair software is the best option. Be sure to try it out today!

Vladimir Popescu
Verified at:
07/03/2023 10:31
Vladimir started writing articles about Windows because he has a natural interest in this topic, and he has been an avid professional user with more than 15 years of experience. He’s also been writing for WindowsReport.com, MSPoweruser.com and present in various other online publications on matters related to Windows and Windows servers.
Vladimir enjoys practicing Crossfit and making art when he’s not creating top articles with in-depth information.
Leave a Reply